Homemade Reese’s Cups with Chocolate Shell
Highlighted under: Oven Collection
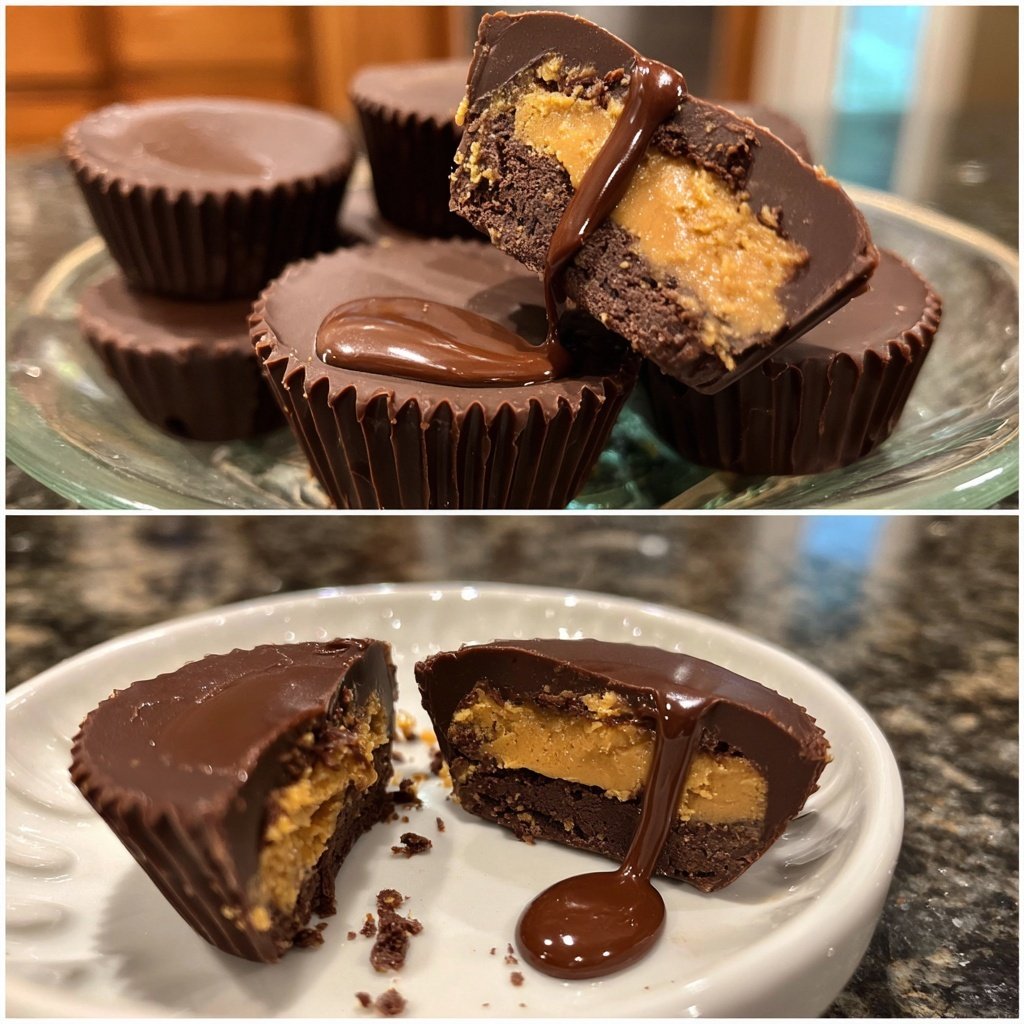
I absolutely love creating my own treats at home, and these Homemade Reese’s Cups with Chocolate Shell have become a favorite in my kitchen. The combination of creamy peanut butter and rich chocolate is simply irresistible and brings back fond childhood memories. Making these cups from scratch allows me to control the sweetness and use high-quality ingredients. Plus, it’s so satisfying to share them with family and friends, who can't believe how easy and delicious they are!
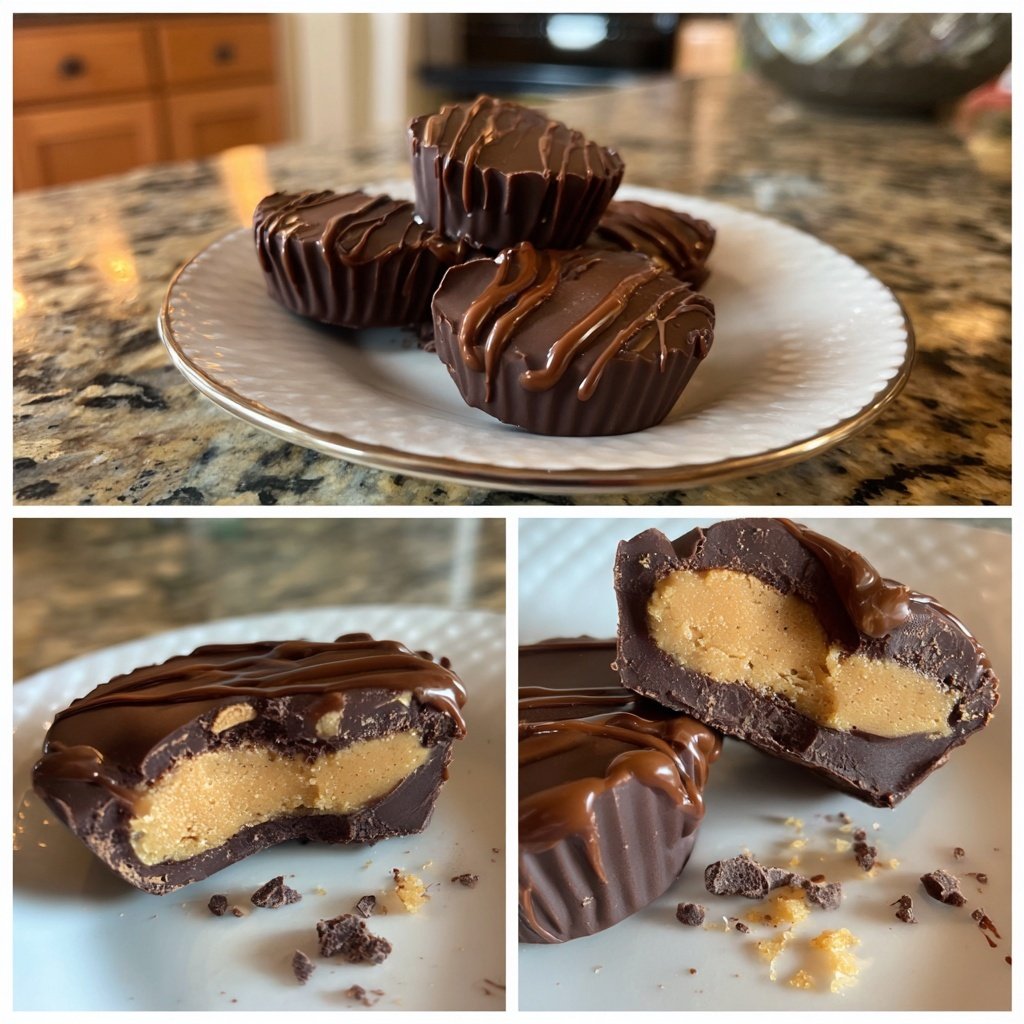
One afternoon, I decided to take a classic candy and put my own twist on it. I believe homemade treats not only taste better but also allow for personalization. So, I experimented with different ratios of chocolate and peanut butter until I found the perfect balance. The satisfying crunch of the chocolate shell paired with the creamy filling is a delightful contrast.
While making these cups, I discovered that using high-quality chocolate makes a noticeable difference in flavor. Additionally, by tempering the chocolate slightly, the shell comes out crispier and holds its shape beautifully. I can't wait for you to give it a try!
Why You Will Love This Recipe
- Irresistibly creamy peanut butter filling
- Rich chocolate shell that snaps perfectly
- Easy and fun to make with family
Techniques for the Perfect Chocolate Shell
Creating a flawless chocolate shell is all about tempering. When melting your chocolate, use a microwave in short intervals to avoid overheating, which can lead to a grainy texture. Stirring between intervals helps to evenly distribute heat. If you notice any unmelted pieces, make sure to stir well before microwaving again. Aim for a glossy, smooth consistency that flows easily but doesn’t separate, indicating your chocolate is ready for the next step.
Another tip for the chocolate shell is to ensure your muffin tin is clean and dry before adding chocolate. Any moisture can cause the chocolate to seize, leading to clumps and a less appealing texture. For a cleaner finish, try using high-quality chocolate chips, as they typically melt better and yield a superior snap when set.
Peanut Butter Filling Tips
When preparing the peanut butter filling, using creamy peanut butter is key for achieving the right texture. Crunchy peanut butter can disrupt the silky consistency you want in each Reese's cup. If you're looking for a healthier twist, you can substitute half of the creamy peanut butter with almond butter or sunbutter; just ensure they're smooth to maintain the filling’s integrity.
The powdered sugar plays an essential role in this recipe, not only providing sweetness but also contributing to the filling's smooth texture. It's crucial to sift the powdered sugar before combining it with the peanut butter. This step helps to avoid lumps, resulting in a perfectly creamy filling that fits seamlessly into your chocolate cups.
Storing and Serving Suggestions
Once your Homemade Reese’s Cups are set, store them in an airtight container in the refrigerator, where they can last for up to two weeks. For long-term storage, consider freezing them. Individually wrap each cup in plastic wrap and place them in a freezer-safe container. They can be enjoyed straight from the freezer for a cold treat or thawed in the fridge for a couple of hours before serving.
For a fun serving twist, consider dipping the finished cups in crushed nuts, shredded coconut, or sprinkles before the chocolate sets. This adds texture and visual appeal. Alternatively, create variety by mixing in different flavor extracts, such as almond or maple, into the peanut butter filling for a unique twist on the classic flavor.
Ingredients
Gather the following ingredients for your delightful Homemade Reese’s Cups:
For the Chocolate Shell
- 1 cup dark chocolate chips
- 1/2 cup milk chocolate chips
For the Peanut Butter Filling
- 1 cup creamy peanut butter
- 1/2 cup powdered sugar
- 1/2 teaspoon vanilla extract
Make sure all your ingredients are measured and ready before starting!
Instructions
Follow these easy steps to create your Homemade Reese’s Cups:
Melt the Chocolate
In a microwave-safe bowl, combine the dark and milk chocolate chips. Microwave in 30-second intervals, stirring in between, until completely melted and smooth.
Prepare the Muffin Tin
Line a muffin tin with paper liners. Using a spoon, drop a small amount of melted chocolate into each liner, ensuring the bottom is covered. Place the tin in the refrigerator for about 10 minutes to set.
Make the Peanut Butter Filling
In a separate bowl, mix together the peanut butter, powdered sugar, and vanilla extract until smooth and well combined.
Assemble the Cups
Once the chocolate has set, add a spoonful of the peanut butter filling on top of the chocolate layer in each cup. Press them down slightly to ensure they stick.
Top with More Chocolate
Pour the remaining melted chocolate over the peanut butter filling, covering it completely. Smooth the top with a spatula if needed.
Chill and Serve
Refrigerate the cups for an additional 20 minutes or until the chocolate has completely set. Enjoy your homemade treats!
These cups can be stored in an airtight container in the fridge for up to two weeks, but I doubt they'll last that long!
Pro Tips
- For a fun twist, add a sprinkle of sea salt on top before chilling for a contrasting flavor.
Adjusting for Dietary Needs
If you’re looking to make these treats gluten-free, you’re in luck—this recipe naturally contains no gluten! However, always check your peanut butter and chocolate brands to confirm they are labeled gluten-free. For a low-sugar option, you can substitute the powdered sugar with low-calorie sweeteners, adjusting the amount to taste, but be cautious as this may affect texture.
For a vegan version, replace the milk chocolate chips with dairy-free chocolate chips and use a plant-based alternative for the creamy peanut butter. Many brands now offer vegan chocolate that will lend a similar richness to your chocolate shell without the animal products.
Scaling the Recipe
This recipe is easy to scale up or down depending on the crowd you’re catering to. If you want to create a larger batch, simply double the quantities for the chocolate and peanut butter layers. Just ensure you have a larger muffin tin or multiple tins to accommodate all the chocolate shells at once, as they can take extra space and time to set.
When halving the recipe, use small muffin tins or silicone molds for mini cups that are perfect for bite-sized treats. This makes it easy to create an assortment of different flavors and fillings, allowing you to experiment with more combinations while keeping the quantities manageable.
Questions About Recipes
→ Can I use different nuts for the filling?
Yes, you can use almond butter or any nut butter you prefer!
→ Are there any alternative sweeteners I can use?
Absolutely! You can try honey, agave syrup, or maple syrup instead of powdered sugar.
→ How do I make these vegan?
Use dairy-free chocolate and a plant-based cream alternative for the filling.
→ Can I freeze these cups?
Yes, they freeze well! Just make sure to wrap them individually for best results.
Homemade Reese’s Cups with Chocolate Shell
Created by: Zinnia Fairweather
Recipe Type: Oven Collection
Skill Level: Beginner
Final Quantity: 12 cups
What You'll Need
For the Chocolate Shell
- 1 cup dark chocolate chips
- 1/2 cup milk chocolate chips
For the Peanut Butter Filling
- 1 cup creamy peanut butter
- 1/2 cup powdered sugar
- 1/2 teaspoon vanilla extract
How-To Steps
In a microwave-safe bowl, combine the dark and milk chocolate chips. Microwave in 30-second intervals, stirring in between, until completely melted and smooth.
Line a muffin tin with paper liners. Using a spoon, drop a small amount of melted chocolate into each liner, ensuring the bottom is covered. Place the tin in the refrigerator for about 10 minutes to set.
In a separate bowl, mix together the peanut butter, powdered sugar, and vanilla extract until smooth and well combined.
Once the chocolate has set, add a spoonful of the peanut butter filling on top of the chocolate layer in each cup. Press them down slightly to ensure they stick.
Pour the remaining melted chocolate over the peanut butter filling, covering it completely. Smooth the top with a spatula if needed.
Refrigerate the cups for an additional 20 minutes or until the chocolate has completely set. Enjoy your homemade treats!
Extra Tips
- For a fun twist, add a sprinkle of sea salt on top before chilling for a contrasting flavor.
Nutritional Breakdown (Per Serving)
- Calories: 160 kcal
- Total Fat: 11g
- Saturated Fat: 3g
- Cholesterol: 0mg
- Sodium: 35mg
- Total Carbohydrates: 12g
- Dietary Fiber: 1g
- Sugars: 8g
- Protein: 4g