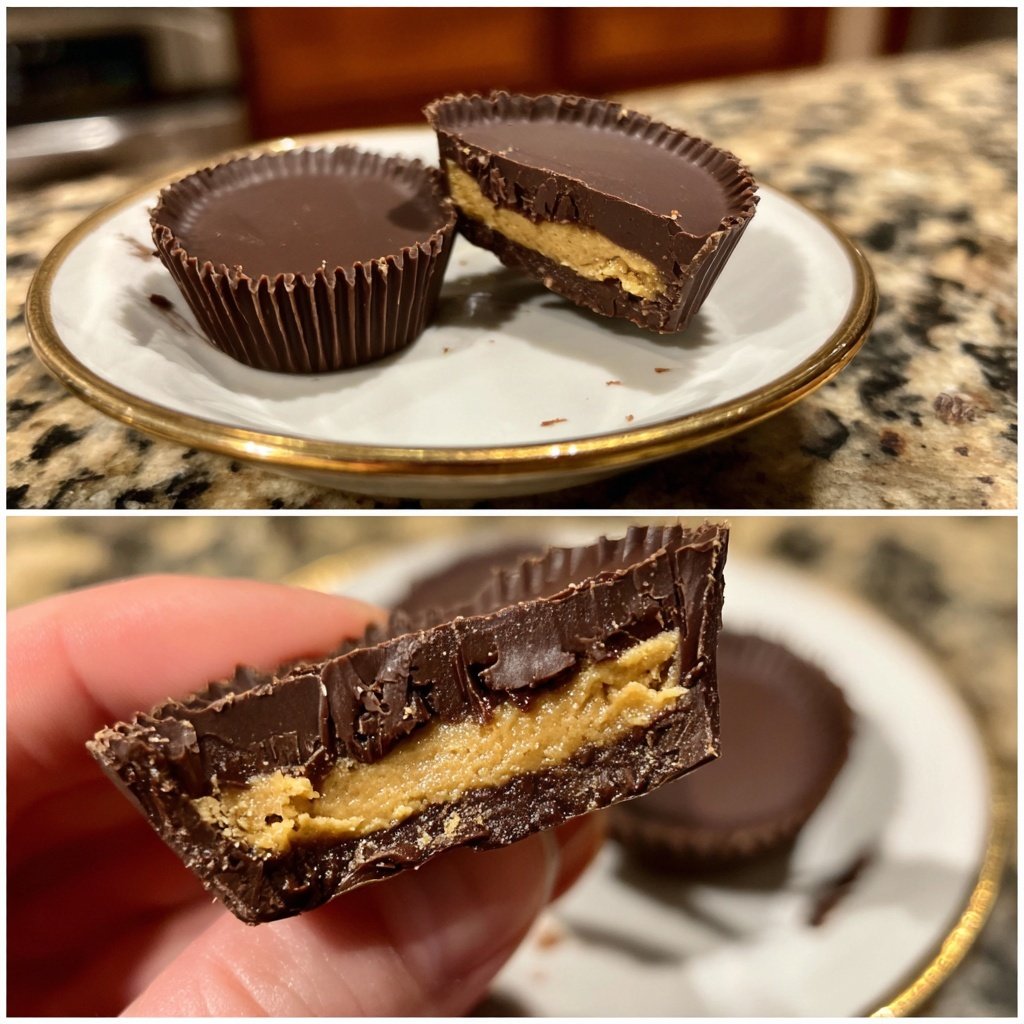
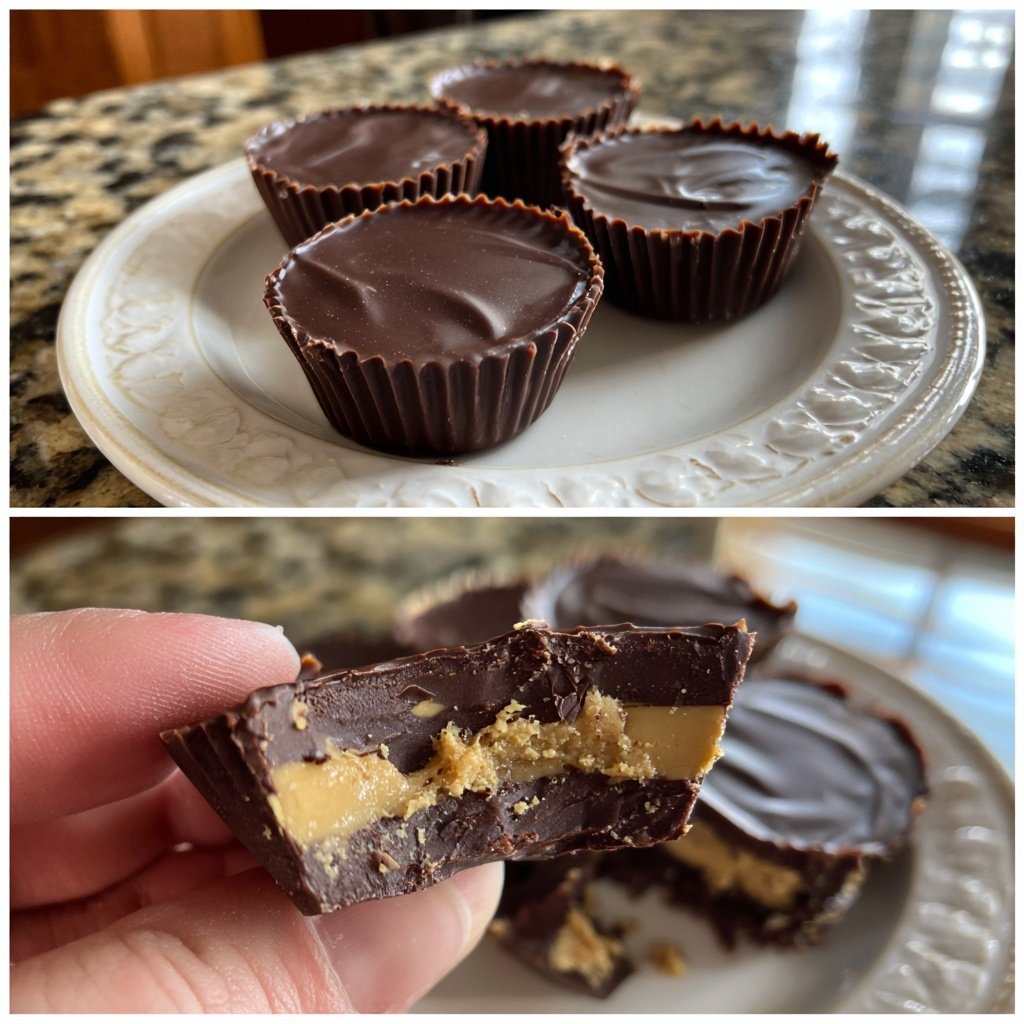
Chocolate Almond Butter Cups
Highlighted under: Oven Collection
I absolutely love making Chocolate Almond Butter Cups at home! There's something so satisfying about melting rich, smooth chocolate and filling it with creamy almond butter. Each bite is a delightful blend of nutty richness and sweet chocolatey goodness. Making these cups is not only simple, but they also take minimal time and require just a few ingredients. I often whip up a batch to indulge or when entertaining friends, and they disappear in a flash. Trust me, once you try making these, you won't want to stop!
When I first attempted to create Chocolate Almond Butter Cups, I was surprised at how easy it truly was! I had previously bought similar treats at the store, but nothing compared to making them fresh at home. The key to a perfect cup is ensuring that the chocolate coating is evenly spread and that the almond butter filling is packed tight.
One tip I found helpful was to chill the cups in the freezer after filling them. This step helps the almond butter firm up, making every bite a joy. I promise, once you make these delicious treats, you’ll never want to buy store-bought again!
Why You Will Love This Recipe
- Rich chocolate flavor paired with creamy almond butter.
- Customizable with different nut butters or flavors.
- Perfect as a quick snack or a sweet gift!
Mastering the Chocolate Melt
Melting chocolate is a vital step that can make or break your Chocolate Almond Butter Cups. Using a microwave is a convenient method; just remember to do it in 30-second intervals. Stirring each time ensures even melting and prevents scorching, which can lead to a gritty texture. Alternatively, you can use a double boiler for more control over the heat. The goal is a glossy, smooth consistency, ready to be poured into your molds.
If you find that the chocolate isn’t melting as smoothly as expected, it may have seized. This can happen if any moisture gets into the bowl. In such cases, try adding a teaspoon of coconut oil to the chocolate to regain that velvety texture. The oil will help smooth out the chocolate without altering the flavor significantly.
Choosing the Right Almond Butter
The type of almond butter you choose can profoundly affect the final taste and texture of your treats. Opt for a creamy, natural almond butter to ensure a smooth filling. Avoid brands with added sugars or oils, as these can overpower the chocolate flavor. If you have a nut allergy or prefer a different taste, consider substituting with cashew butter or sunflower seed butter—both work beautifully in this recipe.
For an added twist, spice up your filling by incorporating a pinch of cinnamon or a dash of sea salt into the almond butter mixture. This subtle enhancement can elevate the overall flavor profile of your Chocolate Almond Butter Cups, making them even more irresistible.
Storage and Serving Suggestions
Once your Chocolate Almond Butter Cups are firm, storage is key to keeping them fresh. They can be kept in an airtight container at room temperature for up to a week, although I recommend refrigeration for longer shelf life. This will help maintain their firmness and prevent any melting during warmer days.
These cups make for a delightful treat on their own but can also be paired with fresh fruit like strawberries or bananas for a more complete dessert. For a festive touch, package them in a decorative box to give as gifts. Their rich flavor and homemade quality will surely impress anyone who receives them!
Ingredients
Gather the following ingredients to get started:
For the Cups
- 1 cup dark chocolate chips
- 1 cup almond butter
- 2 tablespoons maple syrup
- 1 teaspoon vanilla extract
- Sea salt (for sprinkling)
Once you have all the ingredients ready, it's time to start making these delicious cups!
Instructions
Follow these steps to create your own Chocolate Almond Butter Cups:
Melt the Chocolate
In a microwave-safe bowl, melt the dark chocolate chips in 30-second intervals, stirring after each interval until smooth.
Prepare the Molds
Line a muffin tin with paper liners. Pour a tablespoon of melted chocolate into each liner, coating the bottom.
Make the Filling
In a small bowl, mix the almond butter, maple syrup, and vanilla extract until well combined.
Assemble the Cups
Once the chocolate in the molds is set, place a small spoonful of the almond butter mixture in the center of each. Top with remaining melted chocolate to cover.
Chill and Serve
Sprinkle a pinch of sea salt on top of each cup and place the muffin tin in the freezer for about 10 minutes or until the chocolate is firm.
Enjoy your homemade Chocolate Almond Butter Cups!
Pro Tips
- For a twist, try adding a layer of crushed nuts or shredded coconut on top before you freeze the cups. This adds an extra crunch and flavor that elevates your treats even more.
Troubleshooting Common Issues
If you encounter difficulties getting the chocolate to coat the almond butter entirely, it may be too thick after setting. To remedy this, lightly reheat the chocolate before topping it off. Ensure it’s melted nicely to create a seamless layer over the filling, ensuring each bite is a perfect blend of chocolate and almond butter.
Another common issue is filling spillover, where the almond butter mixture overflows the chocolate base. To prevent this, be mindful of the amount of filling you add—about a teaspoon usually suffices. If you notice overflow, a quick clean-up can save your presentation; simply peel away any excess chocolate that spills over.
Scaling the Recipe
This recipe is easily scalable, whether you want to make a small batch for yourself or a large batch for a gathering. To double the recipe, simply double the ingredient quantities and portion them into additional muffin liners. Just make sure your muffin tin has enough capacity for the increased number of cups.
When scaling up, keep in mind the melting time for the chocolate may increase slightly, especially if you are melting larger quantities. Monitor closely and adjust the microwave timing as necessary to maintain that smooth consistency that makes these cups so delightful.
Variations to Try
Feel free to experiment with flavors in your Chocolate Almond Butter Cups! Adding a splash of espresso powder to the chocolate can create a mocha flavor that pairs beautifully with the almond butter. Alternatively, add crushed sea salt for an unexpected salty-sweet flavor combination that enhances the chocolatey richness.
You can also create a layered effect by swirling in jellies or fruit purees atop the almond butter before sealing with chocolate. This not only adds a burst of flavor but also creates an attractive visual layer that’s sure to dazzle your friends and family!
Questions About Recipes
→ Can I use milk chocolate instead of dark chocolate?
Yes, you can use milk chocolate for a sweeter flavor, but be aware that it may not set as firm as dark chocolate.
→ How long do these cups last?
When stored in an airtight container in the refrigerator, these cups can last up to two weeks.
→ Can I use other nut butters?
Absolutely! Feel free to swap almond butter with peanut butter, cashew butter, or any nut butter you prefer.
→ Can I make these vegan?
Yes, by using dairy-free chocolate chips, this recipe can be made vegan.
Chocolate Almond Butter Cups
Created by: Zinnia Fairweather
Recipe Type: Oven Collection
Skill Level: Easy
Final Quantity: 12 cups
What You'll Need
For the Cups
- 1 cup dark chocolate chips
- 1 cup almond butter
- 2 tablespoons maple syrup
- 1 teaspoon vanilla extract
- Sea salt (for sprinkling)
How-To Steps
In a microwave-safe bowl, melt the dark chocolate chips in 30-second intervals, stirring after each interval until smooth.
Line a muffin tin with paper liners. Pour a tablespoon of melted chocolate into each liner, coating the bottom.
In a small bowl, mix the almond butter, maple syrup, and vanilla extract until well combined.
Once the chocolate in the molds is set, place a small spoonful of the almond butter mixture in the center of each. Top with remaining melted chocolate to cover.
Sprinkle a pinch of sea salt on top of each cup and place the muffin tin in the freezer for about 10 minutes or until the chocolate is firm.
Extra Tips
- For a twist, try adding a layer of crushed nuts or shredded coconut on top before you freeze the cups. This adds an extra crunch and flavor that elevates your treats even more.
Nutritional Breakdown (Per Serving)
- Calories: 200 kcal
- Total Fat: 16g
- Saturated Fat: 2g
- Cholesterol: 0mg
- Sodium: 50mg
- Total Carbohydrates: 15g
- Dietary Fiber: 2g
- Sugars: 5g
- Protein: 4g